Repair: Leica Summilux 50/1.4
I bought a Summilux 50mm f/1.4, first-generation in chrome, circa 1959–61, and it had a fair bit of fungus in it. The price was pretty reasonable, and the lens looked simple to disassemble, so here we are.
Tools Needed
Spanner wrench (with flat tips)
A pair of fine-tipped tweezers
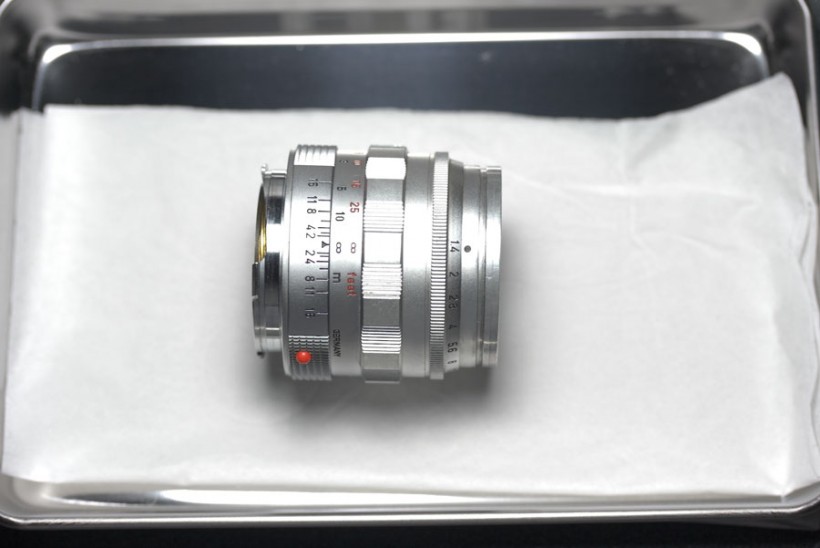
Removing the optical unit
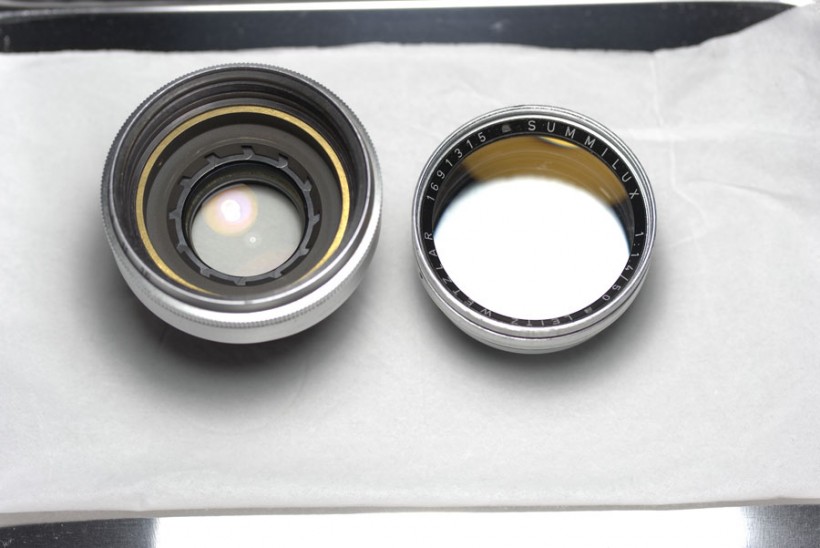
The optics can be separated from the focusing mount by gripping the aperture ring and unscrewing it. This is represented in the picture below by the lower line in red.
This should be the result (left: focusing mount, right: optical unit):
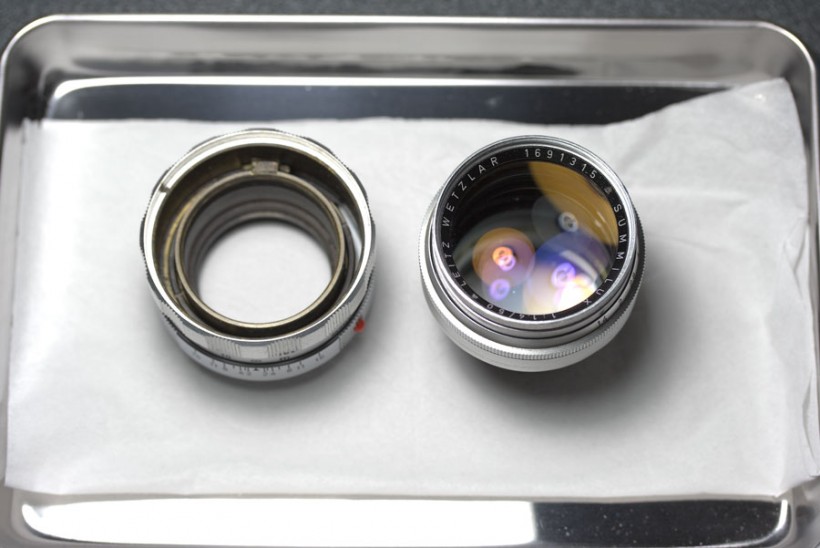
Another view (left: focusing mount, right: optical unit):
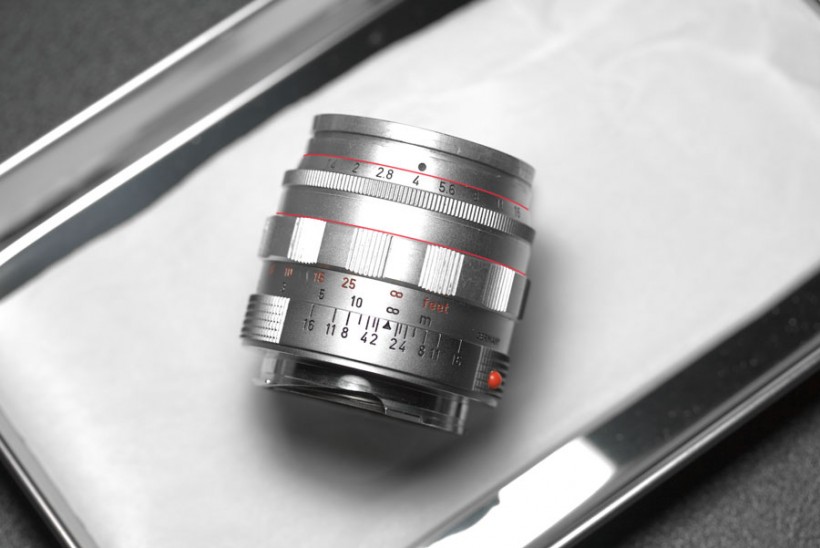
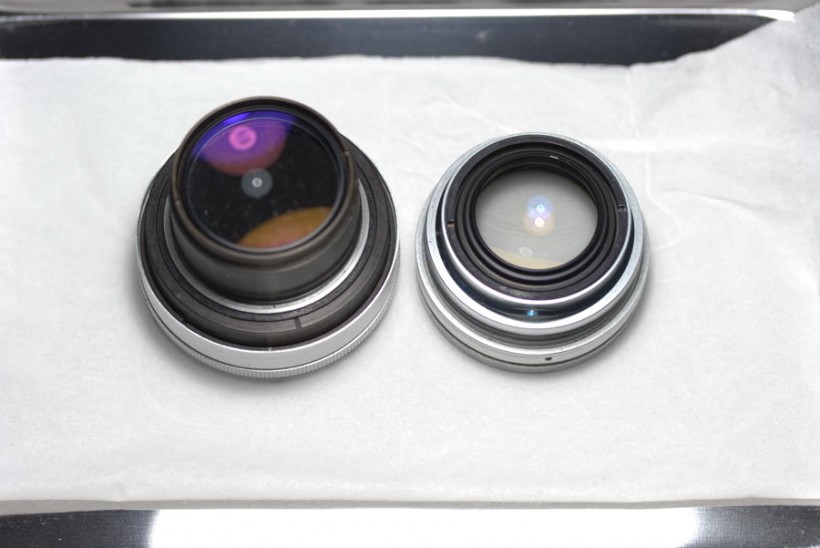
Separating the optical unit into forward and rear sections
With reference to upper line in the second picture, grip the front of the lens (where the hood mounts), and unscrew the front section.
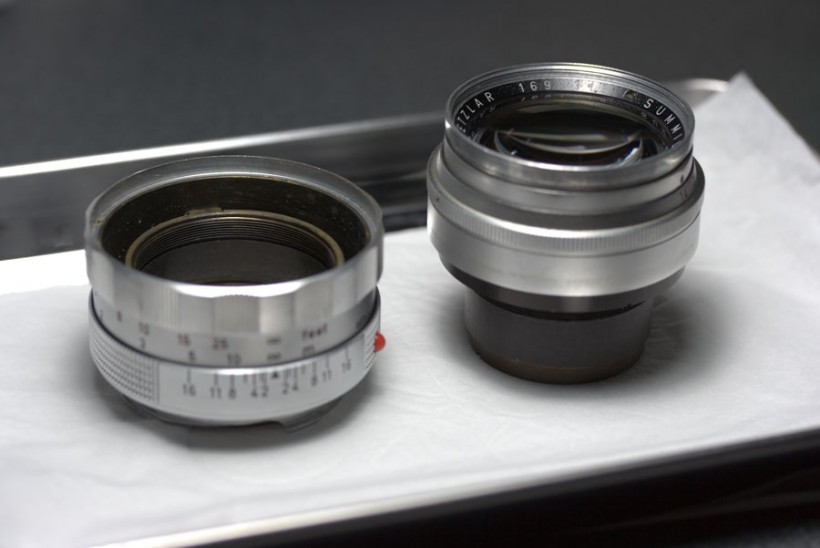
Result (left: rear section and aperture mechanism, right: front section):
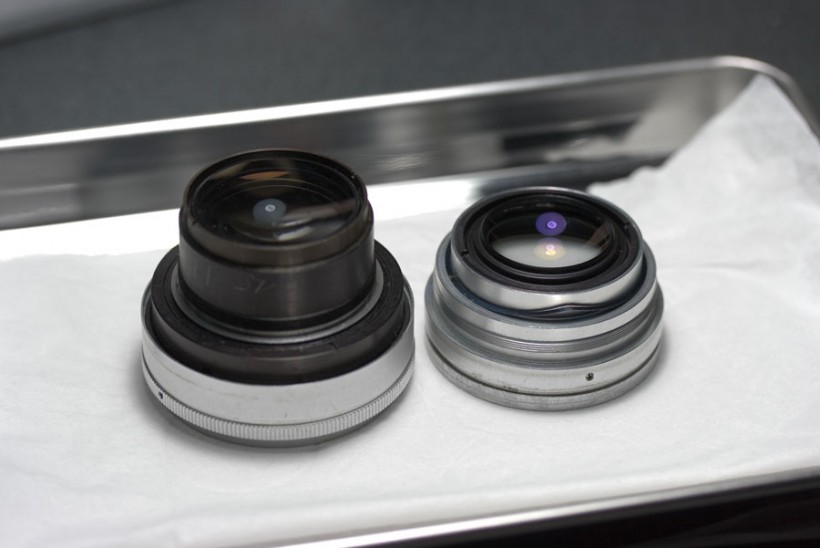
Another view (left: rear section and aperture mechanism, right: front section; note fungus-marred rear element):
And another ( (left: rear section and aperture mechanism, right: front section; note the thin spacer ring on the front section):
Disassembling the front section
You will need to use the spanner wrench to remove the retaining ring. Under that retaining ring will be a very thin, flat, black ring. This helps to keep the retaining ring from contacting the glass elements directly.
You will need to use your pair of tweezers to lift and remove this ring. Slip one side under the ring, and try to lift it away from the glass. It's a little hard to explain, but you should be trying to flex the ring away from the screw threads so that it 'springs' out.
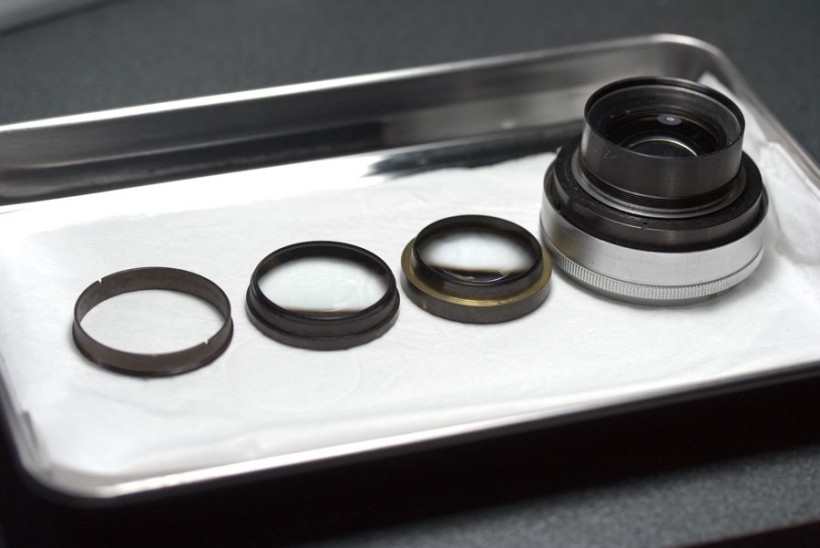
After that is done, you will be able to lift out the second and third elements (cemented group). I found it helpful to gently tap the metal edge to 'dislodge' the group and then to let it 'fall' out of the mount, resulting in (from left: retaining ring, thin black ring, elements 2/3, rest of front section with element 1):

Another view (note the shape of the second element—wow!):

Disassembling the rear section
Use your spanner wrench to unscrew the retaining ring at the rear-end of this section.
You should be able to lift the seventh and sixth elements out without much trouble. If they are tight, a gentle tap to the metal edge will be helpful.
I did not manage to remove the fourth and fifth elements (cemented group), but for my purposes did not need to.
Result (from left: retaining ring, element 7, element 6, rest of rear section with element 4/5 and aperture mechanism):

Another view:
Well, and that's it! I managed to clean most of the fungus, although the rear element was marred by fungus action, and causes some softness at f/1.4 (mostly disappears by f/2, completely gone by f/2.8).
Reassembly
Reassembly is simply following the steps above in reverse. There aren't any tricky points, but ensure the elements are all seated properly.
You are done!
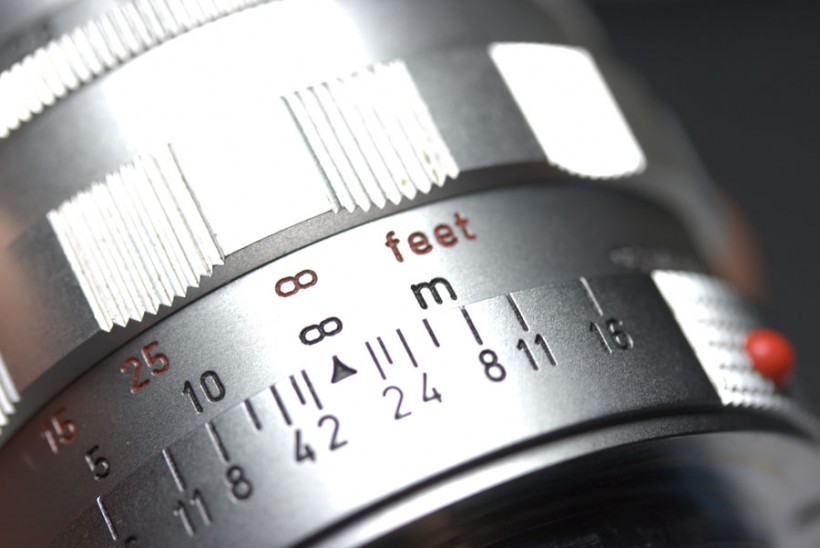
I also took the time to repaint the markings on the lens, and you can see they look a lot better now:
The procedure may be simple, but be very careful not to damage the elements or their coatings. The internal coatings on this lens are reputed to be rather soft, so be very gentle when cleaning.
Always be sure that the screw threads aligned properly during reassembly—you don't want to cross thread them.
Please feel free to contact me if you need help with these instructions. Lastly, don't blame me if you mess up your lens.